Connect a printer to your Windows or Mac computer; wired or wireless. You can share the printer on your home network once it’s connected, allowing other computers in your house to print from it even if they’re not physically connected.
Make sure your printer is turned on. Before continuing to the next step in the troubleshooting process, make sure that your printer is turned on and connected to a power source.
If the printer is in Sleep mode, you might need to press a button on it to wake it up.
Step 2:If your printer hasn't already restarted, do so now. The printer might just need to be restarted if it was previously turned on to stop displaying as unavailable. Follow these procedures to restart the printer:
Turn off and disconnect your printer for 30 seconds. Your printer will be able to restart and reconnect to your computer after doing this. After connecting your printer, turn it on. Make sure the printer is working. After a short while, see if the printer is still displaying as "offline."
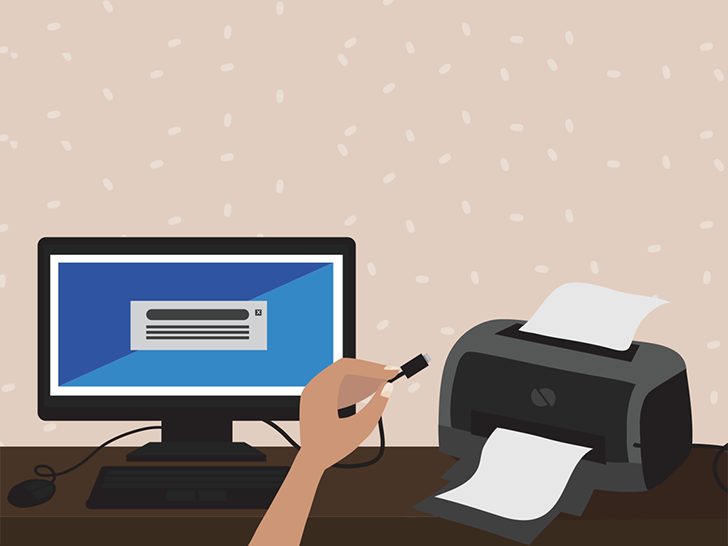
Step 3:Verify that your computer and printer are connected to the same network. If your printer is connected to your computer through Ethernet or Wi-Fi, a network issue could cause it to appear to be offline. Depending on the printer you have, there are different procedures for checking the network settings. You must typically use the buttons on the printer itself to navigate the internal menus. If you're using a USB cable to connect to the printer, make sure it's firmly plugged in. You could try a different USB cable to rule out a damaged cable connection.
Step 4:Make sure there is paper in the printer tray
Some printers will stop printing if there is no paper to print on.
Step 5:Restarting the print spooler is necessary. Follow these procedures to restart the service that oversees your print jobs:
Press Win+S to bring up the search box, then type services.
Select Services from the search results.
Right-click the Print Spooler service by scrolling down to it.
Restart by pressing the button. Restarting the printer conversation will give the computer another chance to find the printer.
After a few minutes, check to see if your printer is showing up online. You will need to wait a few minutes before the printer shows up because the printer spooler function restarts slowly.
Step 6:Select Settings from the Windows Start menu.
If the printer still seems to be down, you can attempt these further troubleshooting techniques.
Step 7:Select your tools. It is accessible through the Settings menu.
Step 8:
From the drop-down option, choose Printers & Scanners.
Any other devices that are linked to your computer should now be listed, including your printer.
Step 9:Make sure there are no prints in the queue. Follow these steps to clear the queue of all documents: then, choose your printer. From the drop-down option, select Open Queue. Select a file from the queue. Select "Cancel" next to "Document." Rep until there is nothing left on the line. Check to see if the printer is working. If you're still having issues, keep on with this process.
Step 10:From the printer's name, choose Remove device.
Step 11:If clearing the queue didn't work, this step will remove the printer's drivers so you may add them again.


Make sure your printer is turned on. Before continuing with the next step in the troubleshooting process, make sure that your printer is turned on and connected to a power source. If the printer is in Sleep mode, you might need to press a button on it to wake it up.
Step 2:If needed, restart your printer. The printer might just need to be restarted if it was previously turned on to stop displaying as unavailable. For Restarting the printer, follow these steps:
Turn off and unplug your printer for 30 seconds. Your printer will be able to restart and re-connect to your computer after doing this. After connecting your printer, turn it on. After a short while, see if the printer is still displaying as "offline."
Step 3:Verify that your computer and printer are connected to the same network. If your printer is ethernet or Wi-Fi linked to your computer, a network issue could cause it to appear to be offline.
Depending on the printer you have, there are different procedures for checking the network settings. You typically have to utilize the buttons on the printer itself to browse through the internal menus.
If you're using a USB cable to connect to the printer, make sure it's firmly plugged in. You could try a different USB cable to rule out a damaged cable connection.
Step 4:Make sure there is paper in the printer tray.
Some printers will stop printing if there is no paper to print on.
Step 5:From the drop-down menu, choose the Apple option
It can be found in the screen's upper left corner.
Step 6:Select System Preferences from the menu. Step 7:From the drop-down menu, choose Printers & Scanners or Print & Scan. By doing this, a new window with a menu listing all of your Mac's printers is opened. Select the printer you want to connect from this menu.
Step 8:Anywhere in the Printers window, right-click.
A little pop-up menu with additional printer settings appears in the window as a result.
Step 9:Select Reset printing system from the menu.
When you click on it, a new box appears asking you to confirm your want to restart the printing system.
Step 10:Click Reset in the confirmation window. You will then be prompted for the Administrator's login information.
After restarting your Mac, add any additional printers or scanners you wish to continue using as this will remove all currently attached ones.
Step 11:After providing the Administrator's username and password, click OK.
The system will finish resetting your Mac's printing system once you've done that.
Step 12:Visit the Printers & Scanners area once more.
After you've reset your printing system, you'll need to add the printer again to your Mac
Step 13:From the drop-down option, choose Add a Device. This opens a window that looks for and instantly recognizes your printer.
Ensure your printer is on and prepared to connect before moving on to the next step.
Step 14:Select your printer and then click Add. By doing this, you can reconnect your printer to the wireless network on your Mac.
At this point, assuming there are no mechanical issues, your printer ought to be online.
If you haven't already, be careful to reconnect any additional devices in this manner and re-add them.
Step 15:Ask the maker of your printer for assistance.
It's most likely a hardware issue if your printer is still giving you trouble
Get in touch with the printer's maker for further details.

The team went beyond our imagination to resolving the issues. Their team is very quick in replying. Couldn’t be much happier.

Many thanks for resolving the issue of echo plus. I called their customer support for the issues, the team took quick action and helped me in resolving the issue in a given period of time.

I was facing problems in connecting with the WiFi when setting up your Echo Look. The team heard my issues patiently and helped us in resolving them quickly.
Users are urged to carefully and completely read the disclaimer. The goal of the Look My Travel is to educate you about the Printer and assist you in resolving any problems you may encounter while using them. We do not advertise any products, brands, or software on lookmytravel.com, nor are we affiliated with any particular company or affiliate program. Additionally, we don't offer access to any external links. Please let us know if you discover any external links to our website, and we'll get them taken down right away. Brand names and product logos are only used at Smartdeviceassistant for purposes of representation. Links or content from outside sources is not under our control.